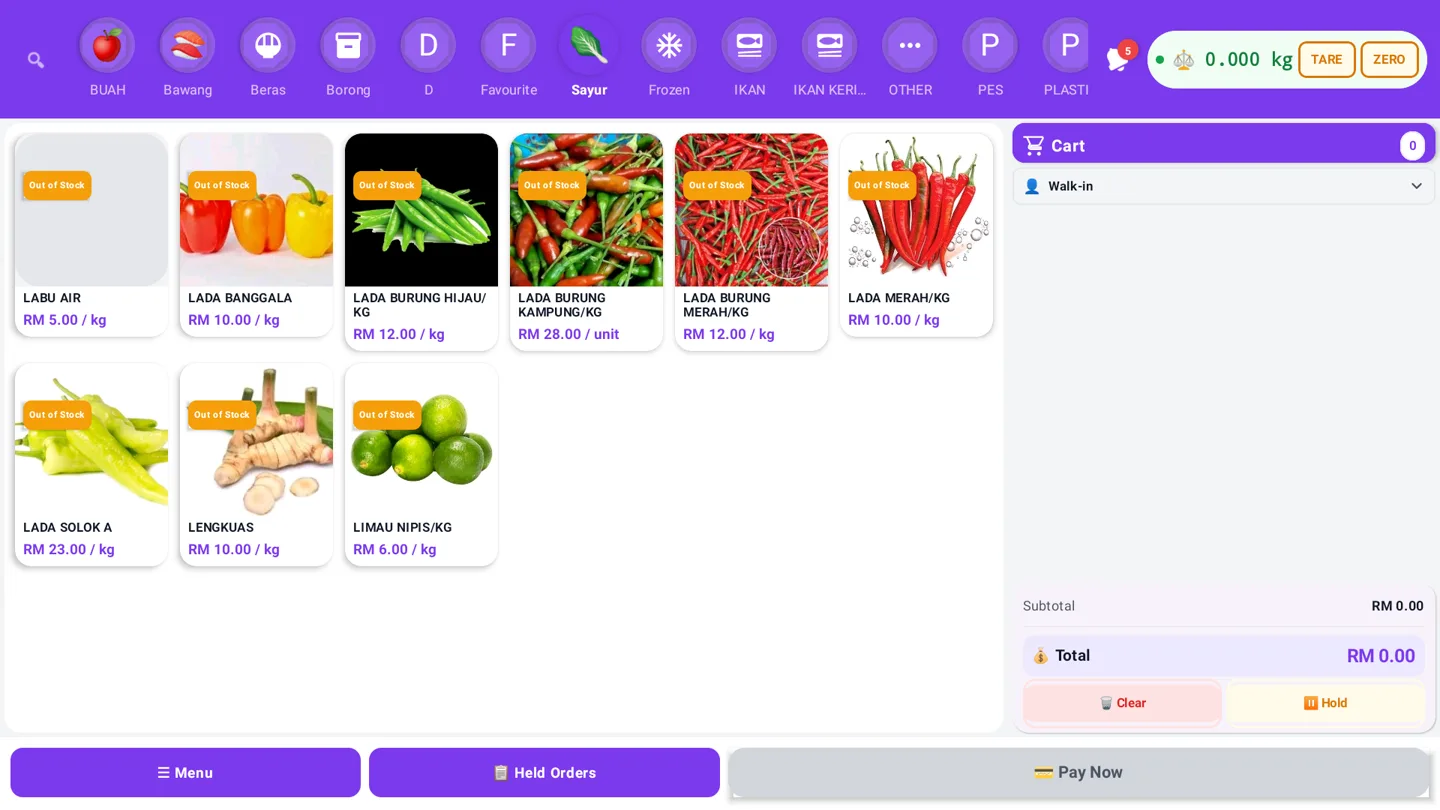
Starting a POS system does not always require a large touchscreen terminal, barcode scanner and a complete cashier counter.
For a small shop, food stall, café, salon or service business, you can start using GeminiPOS with an Android device you already own and add only the hardware you need.
The minimum GeminiPOS setup
The lowest-cost setup can begin with:
- An existing Android phone or tablet
- The GeminiPOS Starter Plan
- A 58mm Bluetooth and USB thermal receipt printer
- An RJ11 cash drawer
- Wi-Fi or mobile data for setup and synchronisation
You do not need to buy a full Android POS terminal on day one. Start with the device you already have, test the workflow and upgrade only when your sales volume requires it.
Estimated Starter Plan cost
The GeminiPOS Starter Plan is currently displayed as RM0, subject to its current feature limits. If you already have an Android device, the two essential hardware items below give an estimated starting total of RM101.80.
Item · Estimated cost
GeminiPOS Starter Plan · RM0
58D 58mm Bluetooth + USB receipt printer · RM55.99
5-compartment RJ11 cash drawer · RM45.81
Estimated starting total · RM101.80
Prices were checked on 19 August 2026. Shopee prices can change with product variations, vouchers, stock and delivery charges. The total excludes thermal paper and shipping.
The printer listing is designed for a 58mm POS receipt workflow and cash-drawer use. The cash drawer uses an RJ11 connection. Check the selected variation, ESC/POS support, Android/Bluetooth compatibility and the final checkout price before ordering.
How to start using GeminiPOS
1. Create your store
Register your GeminiPOS account and add your business name, currency, receipt information and basic settings.
2. Add your products
Start with your best-selling products, prices, categories and opening stock. You can expand the catalogue later instead of entering everything before your first sale.
3. Connect the receipt printer
Pair the printer with Android through Bluetooth or use USB where supported. Select 58mm receipt paper and print a test receipt.
4. Connect the cash drawer
Connect the drawer to the printer using the RJ11 cable. Enable the cash-drawer setting and run a small test sale. The drawer should open only when the printer and POS configuration support the kick-out signal.
5. Test online and offline workflows
Complete several test transactions, refunds and receipt prints. Supported checkout workflows can continue offline and synchronise when connectivity returns, while sign-in, cloud services and some payment methods still require internet access.
What you can postpone
To keep your initial cost low, you can delay buying a dedicated POS tablet, tablet stand, barcode scanner, 80mm printer, customer display or payment terminal. Add them only when they save enough time to justify the cost.
Review the GeminiPOS Malaysia pricing page, offline POS workflow and inventory management guide before expanding your setup.
The best first POS setup is not necessarily the most expensive one. It is the setup that helps you record sales, manage stock and serve customers reliably while leaving room to grow.
---
> 💡 Related Guide: Discover the complete feature overview, local-first offline architecture, and multi-outlet workflows of our flagship POS system in Malaysia built for modern retail and F&B businesses.